
About the Art
As an artist I’m nothing if not … versatile? I used a range of media and I’m always learning something new. Here I’ll explain a little bit about how I make different kinds of artwork, including wood intarsia, block prints, and more.
Wood Art
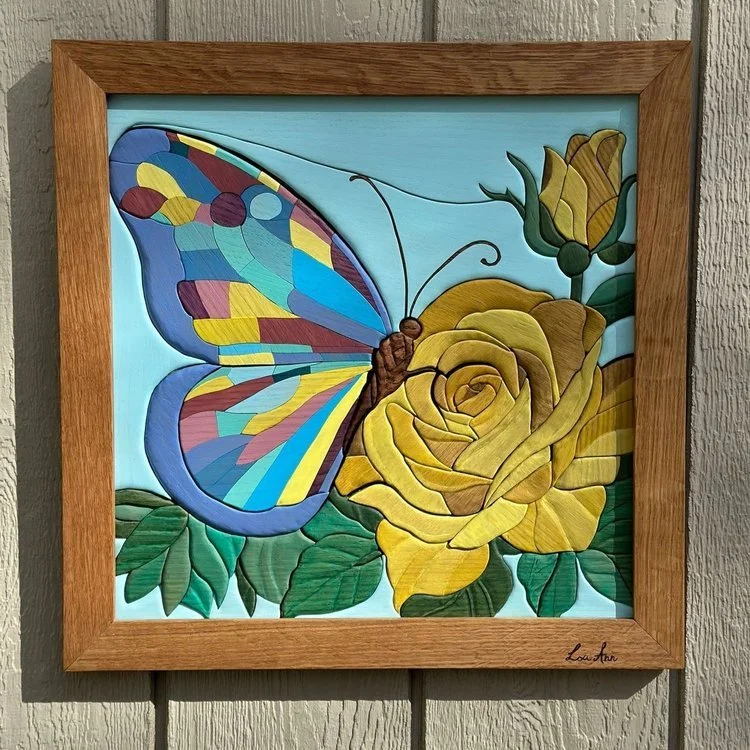
Intarsia is a technique used in both woodworking and knitting that involves fitting different colors or pieces together to form a single, unified image or pattern—like a mosaic in relief.
In woodworking—which is what I do—intarsia involves cutting, shaping, and fitting together individual pieces of wood to create a detailed picture with depth and dimension. I use many species of wood in each piece, each chosen for its natural color and grain, which I cut out by hand using a Pegas scroll saw, contour with a Marathon rotary tool (like a Dremel), sand and finish with varnish or lacquer, then finally glue onto a backing board and frame. I usually don’t use any paint or stain in these pieces any more: I try to choose species of wood that naturally have the colors I want. There are some exceptions though, like the sexy leather bear, where I really wanted the nose and leather to be pure black, and the hummingbird and butterfly where the priority was bright, vibrant colors that weren’t possible without stain.
Occasionally I also make other kinds of wood art, like the nature-themed baby crib mobile in this photo gallery, or the moon phase coasters.


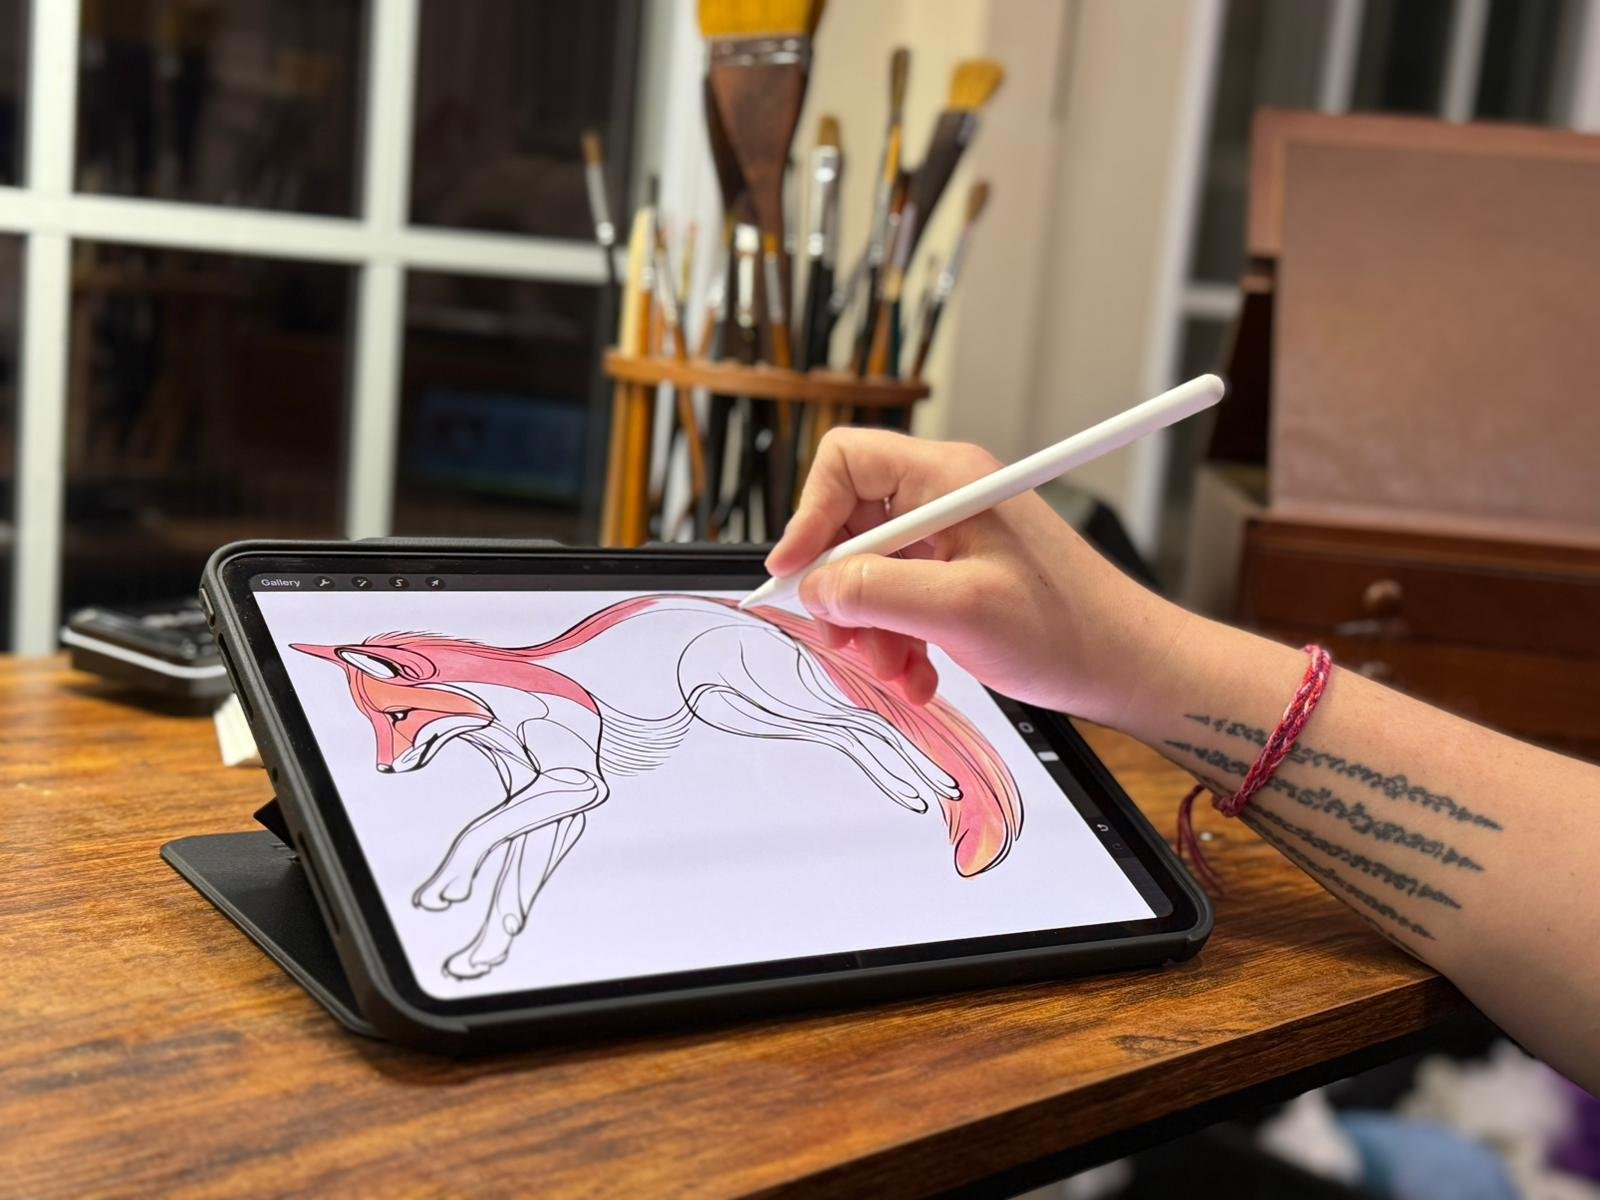
Line Drawing Designs
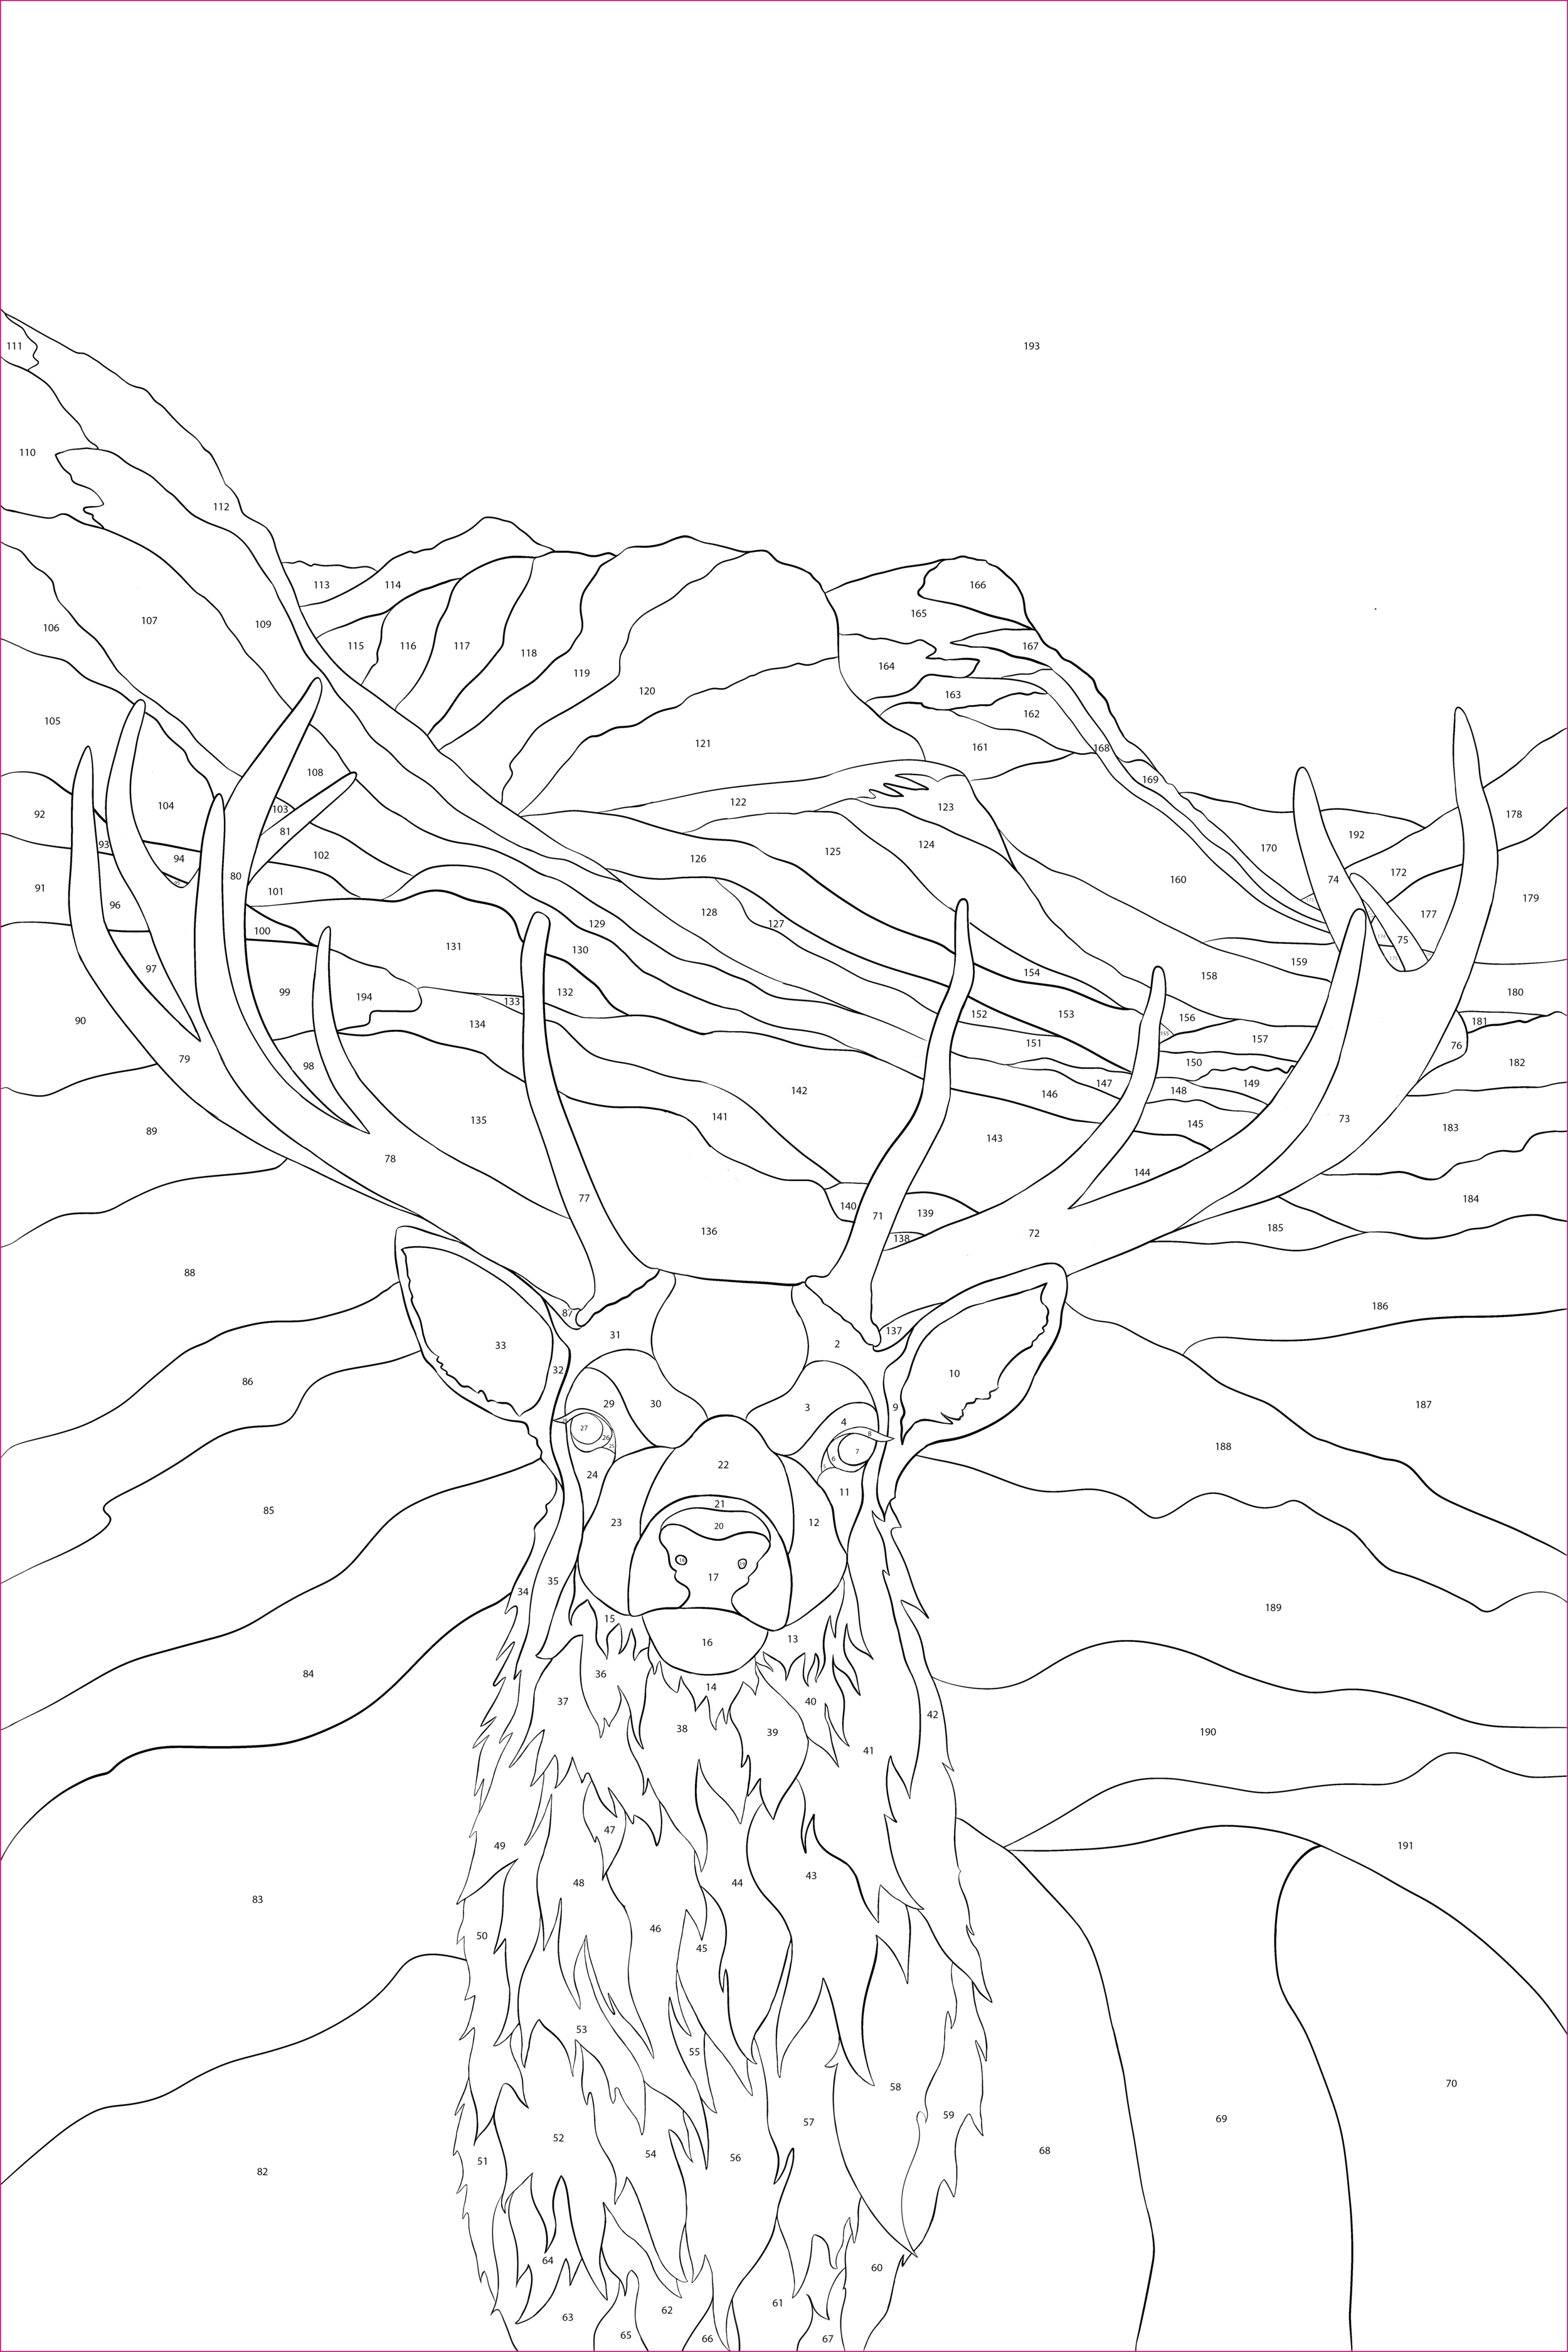


But before a piece can be made, it has to be designed! Many intarsia artists buy patterns from professional pattern makers but I draw my own on an iPad based on lots of reference photos and sketches. Once I’ve finished the complete design I have to break apart the individual pieces so I can print them on paper, which I stick to the wood to cut around so I can get a very tight fit and the pieces will each fit together as closely as possible.
However, not all my drawings are suitable for intarsia. Because intarsia is made up of lots of cut out pieces, like a mosaic or stained glass, all those pieces have to be closed shapes and I often like to draw more fluid, continuous line style things. Those drawings go on to become…
Prints
I have done various things with my designs, including direct-to-garment heat transfer printing on clothing, giclee prints on archival paper and most recently I have begun making linocuts and hand printing on paper and fabric, such as tote bags. I am really enjoying linocutting and block printing, and have realized that my style really suits it, so there will be a lot more of that coming!
Making a linocut involves (for me, anyway) drawing the design on my iPad, tracing that onto tracing paper and transferring it to a block of linoleum by rubbing the tracing paper with the back of a spoon. Then I go over that with Sharpie and carve it out using sharp tools designed for that purpose. Once it’s all carved out I’ll test print it a few times and remove any extra unwanted lines to get a clean image before I print it for real. The ink then needs to dry on the fabric or paper for at least 5 to 7 days, depending on the weather, before it is fully set.


